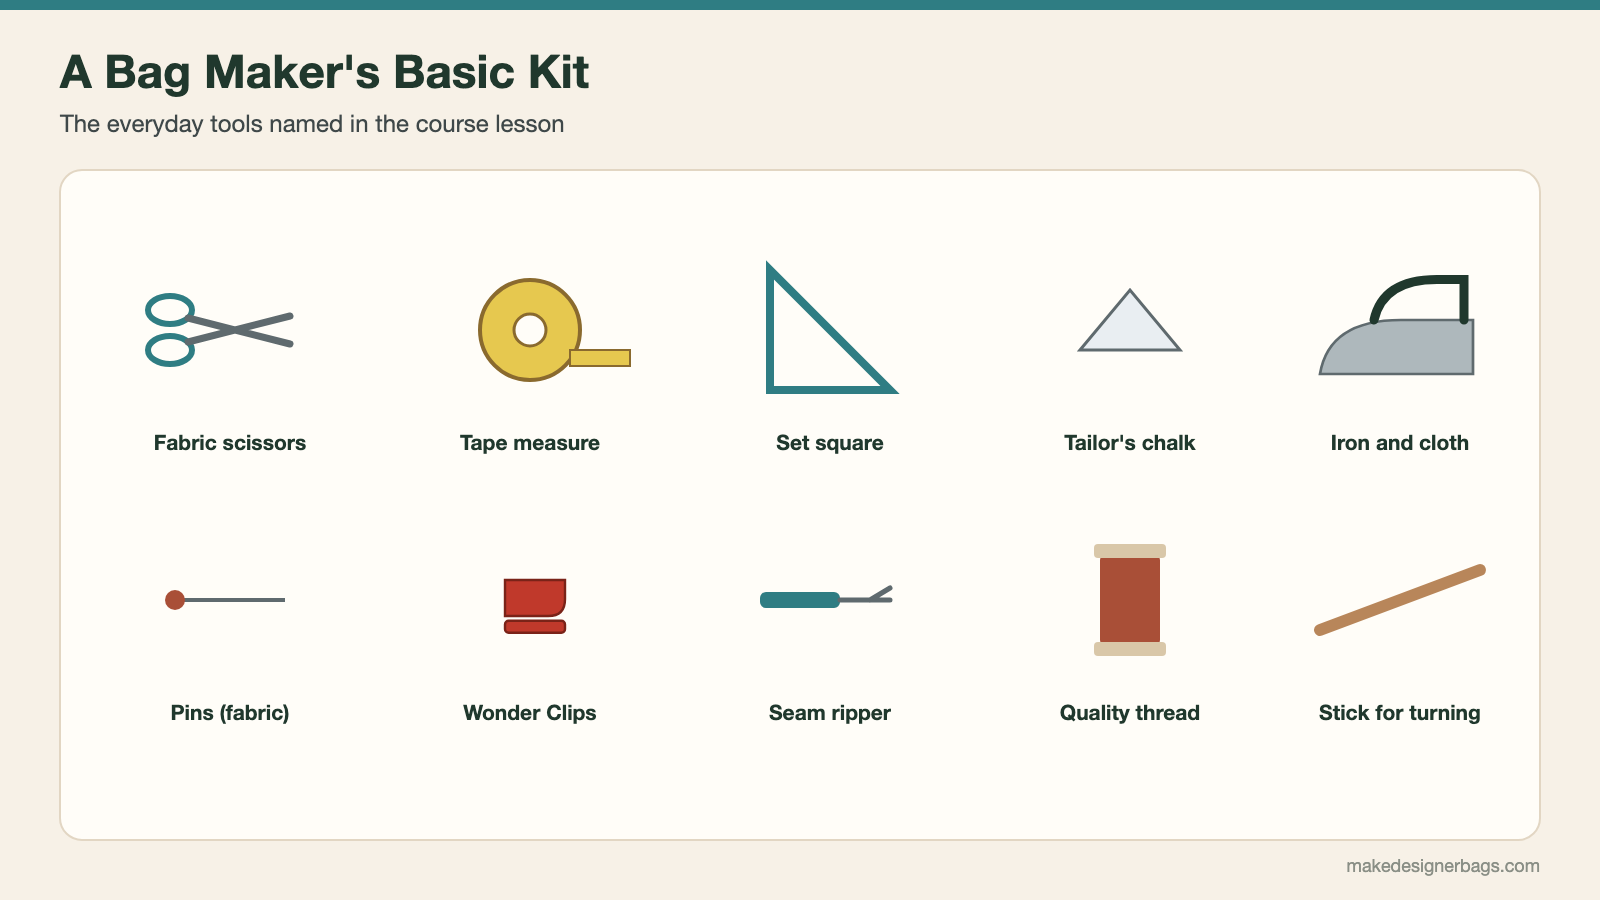
For bag making you need a sewing machine and a small set of household sewing tools: fabric scissors, a tape measure and set square, tailor's chalk, pins, a steam iron with a pressing cloth, hand sewing needles and quality thread. For leather and synthetic leather, add a few swaps: Wonder Clips instead of pins, a hammer and wooden board instead of the iron, leather glue, and a Teflon presser foot.
Bag Making Tools at a Glance
| Job | Tools | Note |
|---|---|---|
| Finishing edges | Overlock, or the zigzag stitch of your machine | An overlock is not required |
| Pressing | Steam iron, ironing board, sleeve board, pressing cloth | Iron fabric before cutting |
| Patterns | Paper scissors, adhesive tape, two highlighters | For cutting and marking paper patterns |
| Measuring and marking | Tape measure, hand measure, large set square, tailor's chalk | Chalk with a sharp edge marks precisely |
| Cutting | Fabric scissors, small scissors | Small scissors for trimming |
| Sewing | Machine needles, pins, hand sewing needle, quality thread | Cheap thread breaks |
| Turning | A chopstick | Pushes out corners |
The Basic Kit
Besides your sewing machine, an overlock is nice to have but not necessary: you can finish fabric edges and seams well with the zigzag stitch of your machine. A steam iron with an ironing board and a sleeve board matters more than many people think, because fabrics should be ironed before marking and cutting.
For patterns, keep a pair of paper scissors and adhesive tape, and two highlighters in different colors for marking. For measuring and cutting, you need a tape measure, a hand measure, a larger set square, tailor's chalk with a sharp edge, fabric scissors and small scissors. A chopstick is handy for turning and pushing out corners.
Needles and Thread
Keep machine needles, pins, a hand sewing needle and good sewing thread on hand. The course is clear about thread: use quality thread, because thread that constantly breaks will spoil your sewing. Our thread size chart and needle guide help you match the two.
Extra Tools for Leather
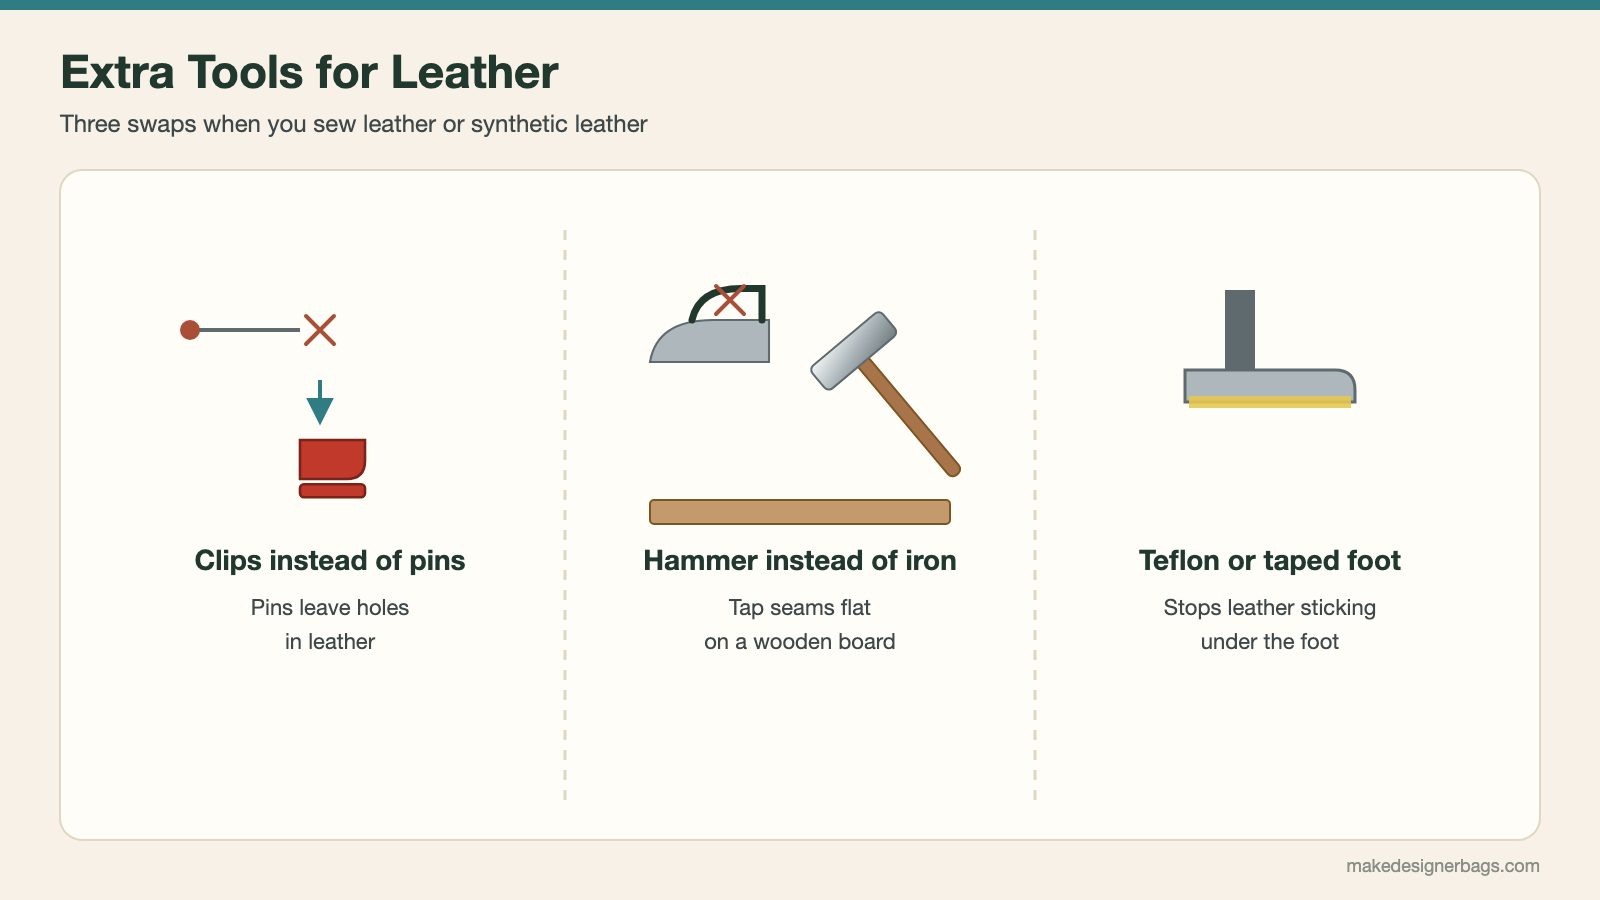
A smooth wooden board and a hammer: leather cannot be ironed, so seams are tapped flat instead
A ruler or larger set square and a pen for marking
Leather glue, used sparingly
Wonder Clips, because pins do not work with leather
A leather needle for genuine leather, and a Teflon-coated presser foot
No Teflon foot? Put some tape on the bottom of your usual foot
A leather needle has advantages and disadvantages: it tends to cut through the material, so you need to be sure of your stitching. On synthetic leather, the course uses a stronger regular needle instead.
No Teflon foot? Tape the bottom of your regular foot to stop leather from sticking.
Common Mistakes
Pins leave permanent holes. Use clips.
Heat damages leather seams. Tap them flat with a hammer on a wooden board.
Without a Teflon foot or tape, leather sticks under the foot.
Not sure your machine can handle thick layers? Compare domestic and industrial machines for bag making.
See It on Video
The tools for bag making is covered on video in the Bag Sewing Fundamentals course. See the bag making courses.
Frequently Asked Questions
What tools do I need to start making bags?
A sewing machine, fabric and paper scissors, a tape measure and set square, tailor's chalk, pins, a steam iron with a pressing cloth, needles and quality thread.
Do I need an overlock to make bags?
No. You can finish fabric edges and seams well with the zigzag stitch of your sewing machine.
What extra tools do I need for leather bags?
A smooth wooden board and a hammer, leather glue, Wonder Clips, a leather needle and a Teflon-coated presser foot or a taped regular foot.
Why use clips instead of pins?
On leather and leather-like materials, pins leave holes that stay visible. Clips hold the layers without marking them.