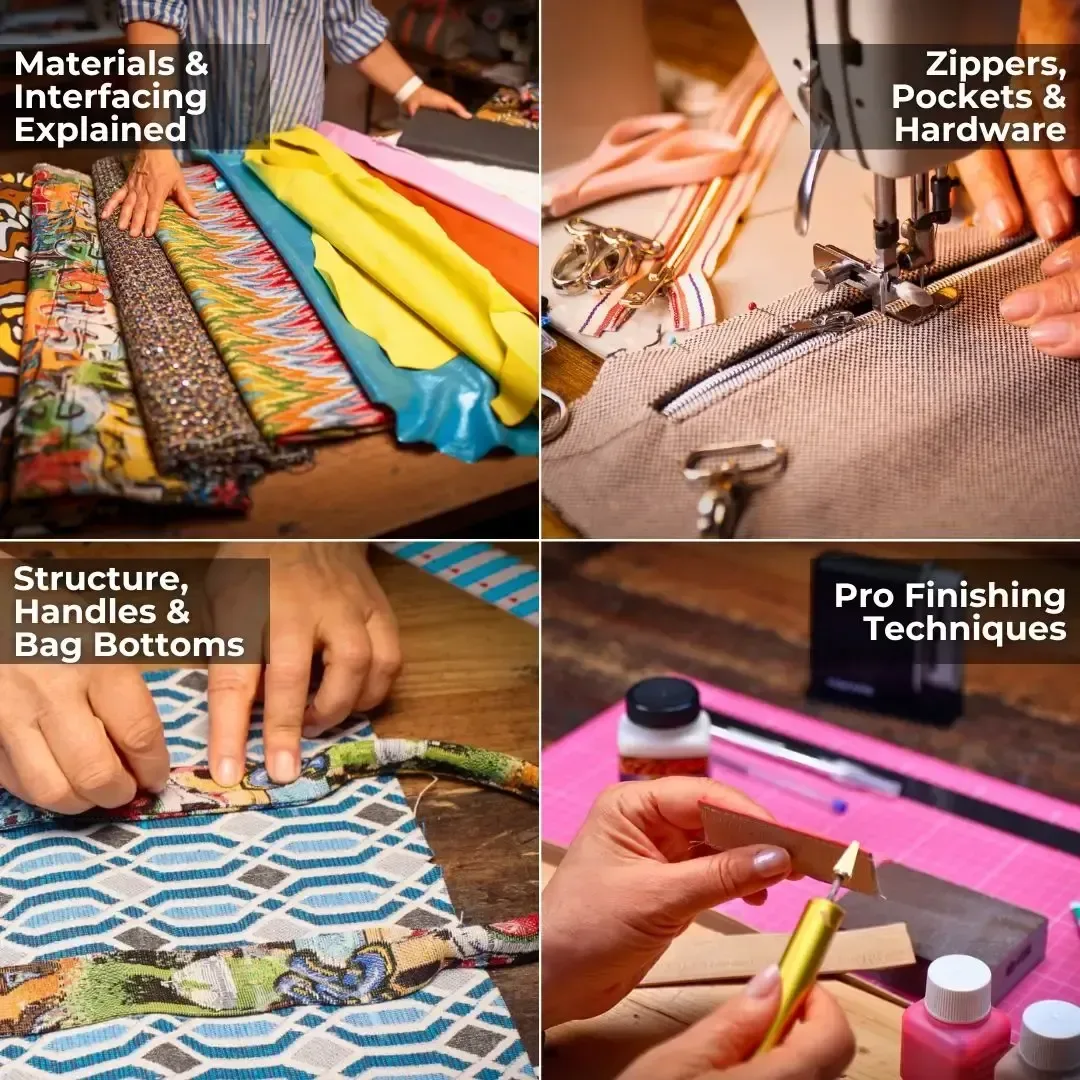
To sew a square bag bottom, mark the center of every edge on the bottom panel and the side pieces, then sew the bottom to the long sides right sides together, center mark on center mark. Stop each seam at the seam allowance before the corners. Sew the short sides the same way, then secure each corner with a diagonal stitch, trim it and turn the bag right side out.
Square Bag Bottom at a Glance
| Step | What you do | Why it matters |
|---|---|---|
| 1 | Snip center marks on every edge | Bottom and sides line up exactly |
| 2 | Sew the bottom to the long sides, mark to mark | The bag sits straight |
| 3 | Stop each seam at the seam allowance, backstitch | The corners stay open and flat |
| 4 | Sew the short sides the same way | All four sides are attached |
| 5 | Stitch the corners diagonally, trim, turn | Corners keep their shape and turn cleanly |
A square bottom, often called a boxed bottom, gives a bag a proper base so it stands up and looks well made. This method uses a separate bottom panel, which works in leather, suede or fabric.
What You Need
A bottom panel in leather, suede or fabric
Two long and two short side pieces
Small scissors to snip the center marks
Wonder clips, since pins leave holes in leather
Matching thread and a longer stitch
A Teflon presser foot for leather, or tape on the bottom of a normal foot
Step by Step
Mark the Centers
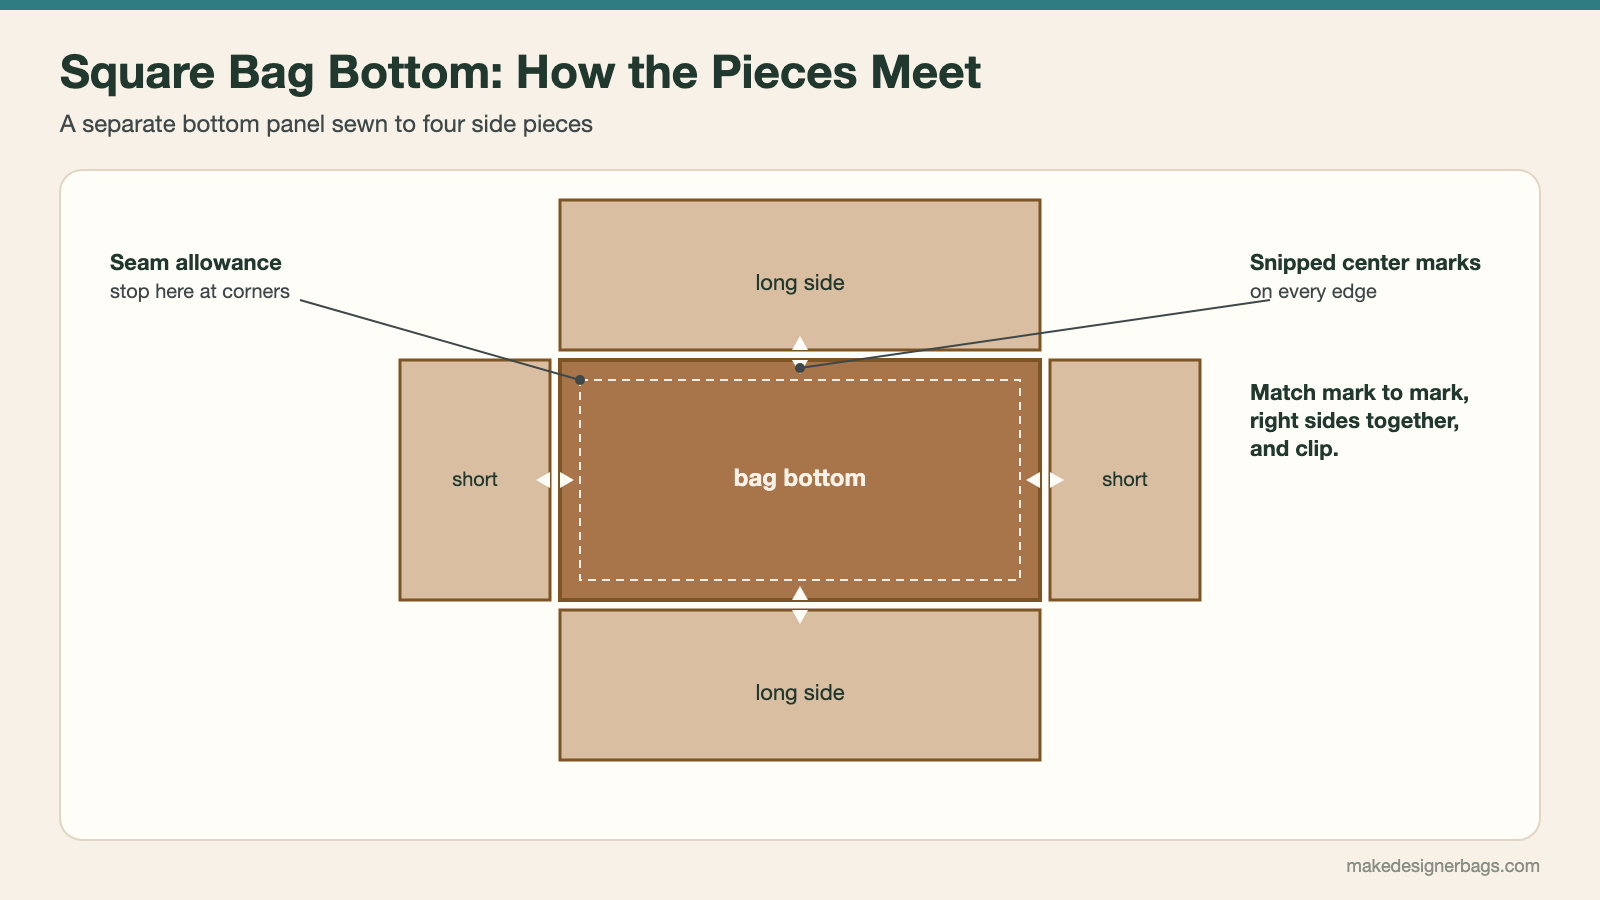
Fold each edge of the bottom panel in half and snip out a tiny corner at the fold. Do the same on the bottom edges of the side pieces. Pins do not work in leather, so a snipped mark is a good way to find the center.
Sew the Long Sides
Lay the bottom right sides together with a long side piece, center mark on center mark, and clip. Start stitching at the seam allowance, backstitch, and stitch exactly up to the seam allowance at the other corner. Stitch the seam a second time for safety, because you cannot reach it later. Repeat with the second long side.
Sew the Short Sides
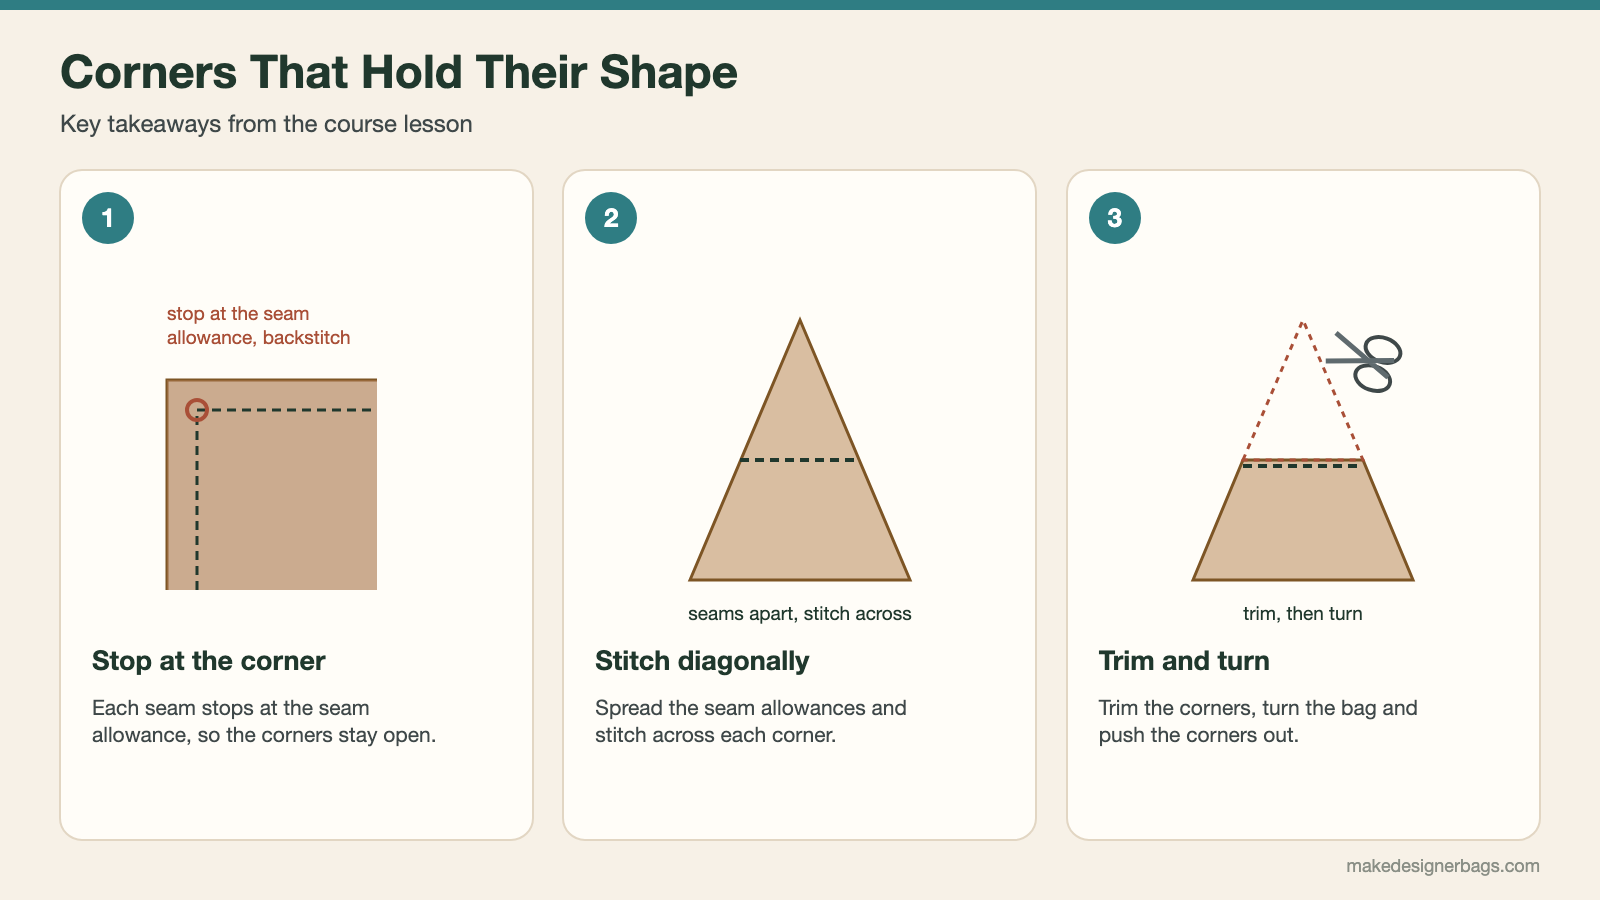
Sew the short side pieces to the long side pieces, stopping at the seam allowance at the bottom. Then clip the short sides to the bottom, center mark on center mark and edge to edge, and stitch from corner to corner, stopping right at each corner.
Secure the Corners
At each corner, spread the seam allowances of the short and long side apart and stitch diagonally across the tip. Trim the corner, then turn the bag right side out and push the corners out neatly.
Take extra care reinforcing the corners and seams as you sew. These spots carry the most strain once the bag is turned right side out.
Common Mistakes
Stitching too close to or past the corner gives bunched or misaligned corners.
Without the diagonal corner stitch, the bag loses shape or the corners weaken over time.
Leftover fabric at the corners makes a bulky, uneven turn.
Sewing leather or cork for the bottom? See sewing with cork fabric and cork leather.
See It on Video
Sewing a square bottom into a bag is shown step by step in close-up video in the Bag Sewing Fundamentals course. See the bag making courses.
Frequently Asked Questions
What is a boxed bag bottom?
A square bottom that gives the bag a flat base so it stands up. In this method a separate bottom panel is sewn to two long and two short side pieces.
How do I mark the center on leather?
Fold the edge in half and snip out a tiny corner at the fold. Pins leave holes in leather, so a snipped mark works better.
Why stop the seam before the corner?
Stopping at the seam allowance keeps the corners open, so the bottom and sides meet cleanly instead of bunching.
How do I make the corners hold their shape?
Spread the seam allowances apart, stitch diagonally across each corner, trim it and push the corners out after turning.